
[How To] Build a Family Archive
When the descendants of Evert Nyland, Class of 1909, discovered a notebook and photographs from his time at Stevens, they uncovered the story of an alumnus they never had the chance to meet. Nyland died in an accident just a few years after graduating and his family donated the materials to the Samuel C. Williams Library Archives & Special Collections, where they are now preserved by Stevens archivists Leah Loscutoff and Ted Houghtaling.
Your attic, closet or hard drive may hold similar pieces of your family’s story. But preserving them takes more than storing them in a plastic bin. Loscutoff and Houghtaling collect, preserve and digitize everything from Babylonian cuneiform circa 2400 B.C.E. to digital files documenting student and campus activities from last year, providing access to those materials for researchers at Stevens and around the world.
Organizing and digitizing are important parts of archiving, but an archive goes further, preserving materials in context and ensuring they remain accessible over time. Loscutoff and Houghtaling explain how thinking like an archivist can help you decide what matters and create a family or personal archive that will stand the test of time.
1. Start Small
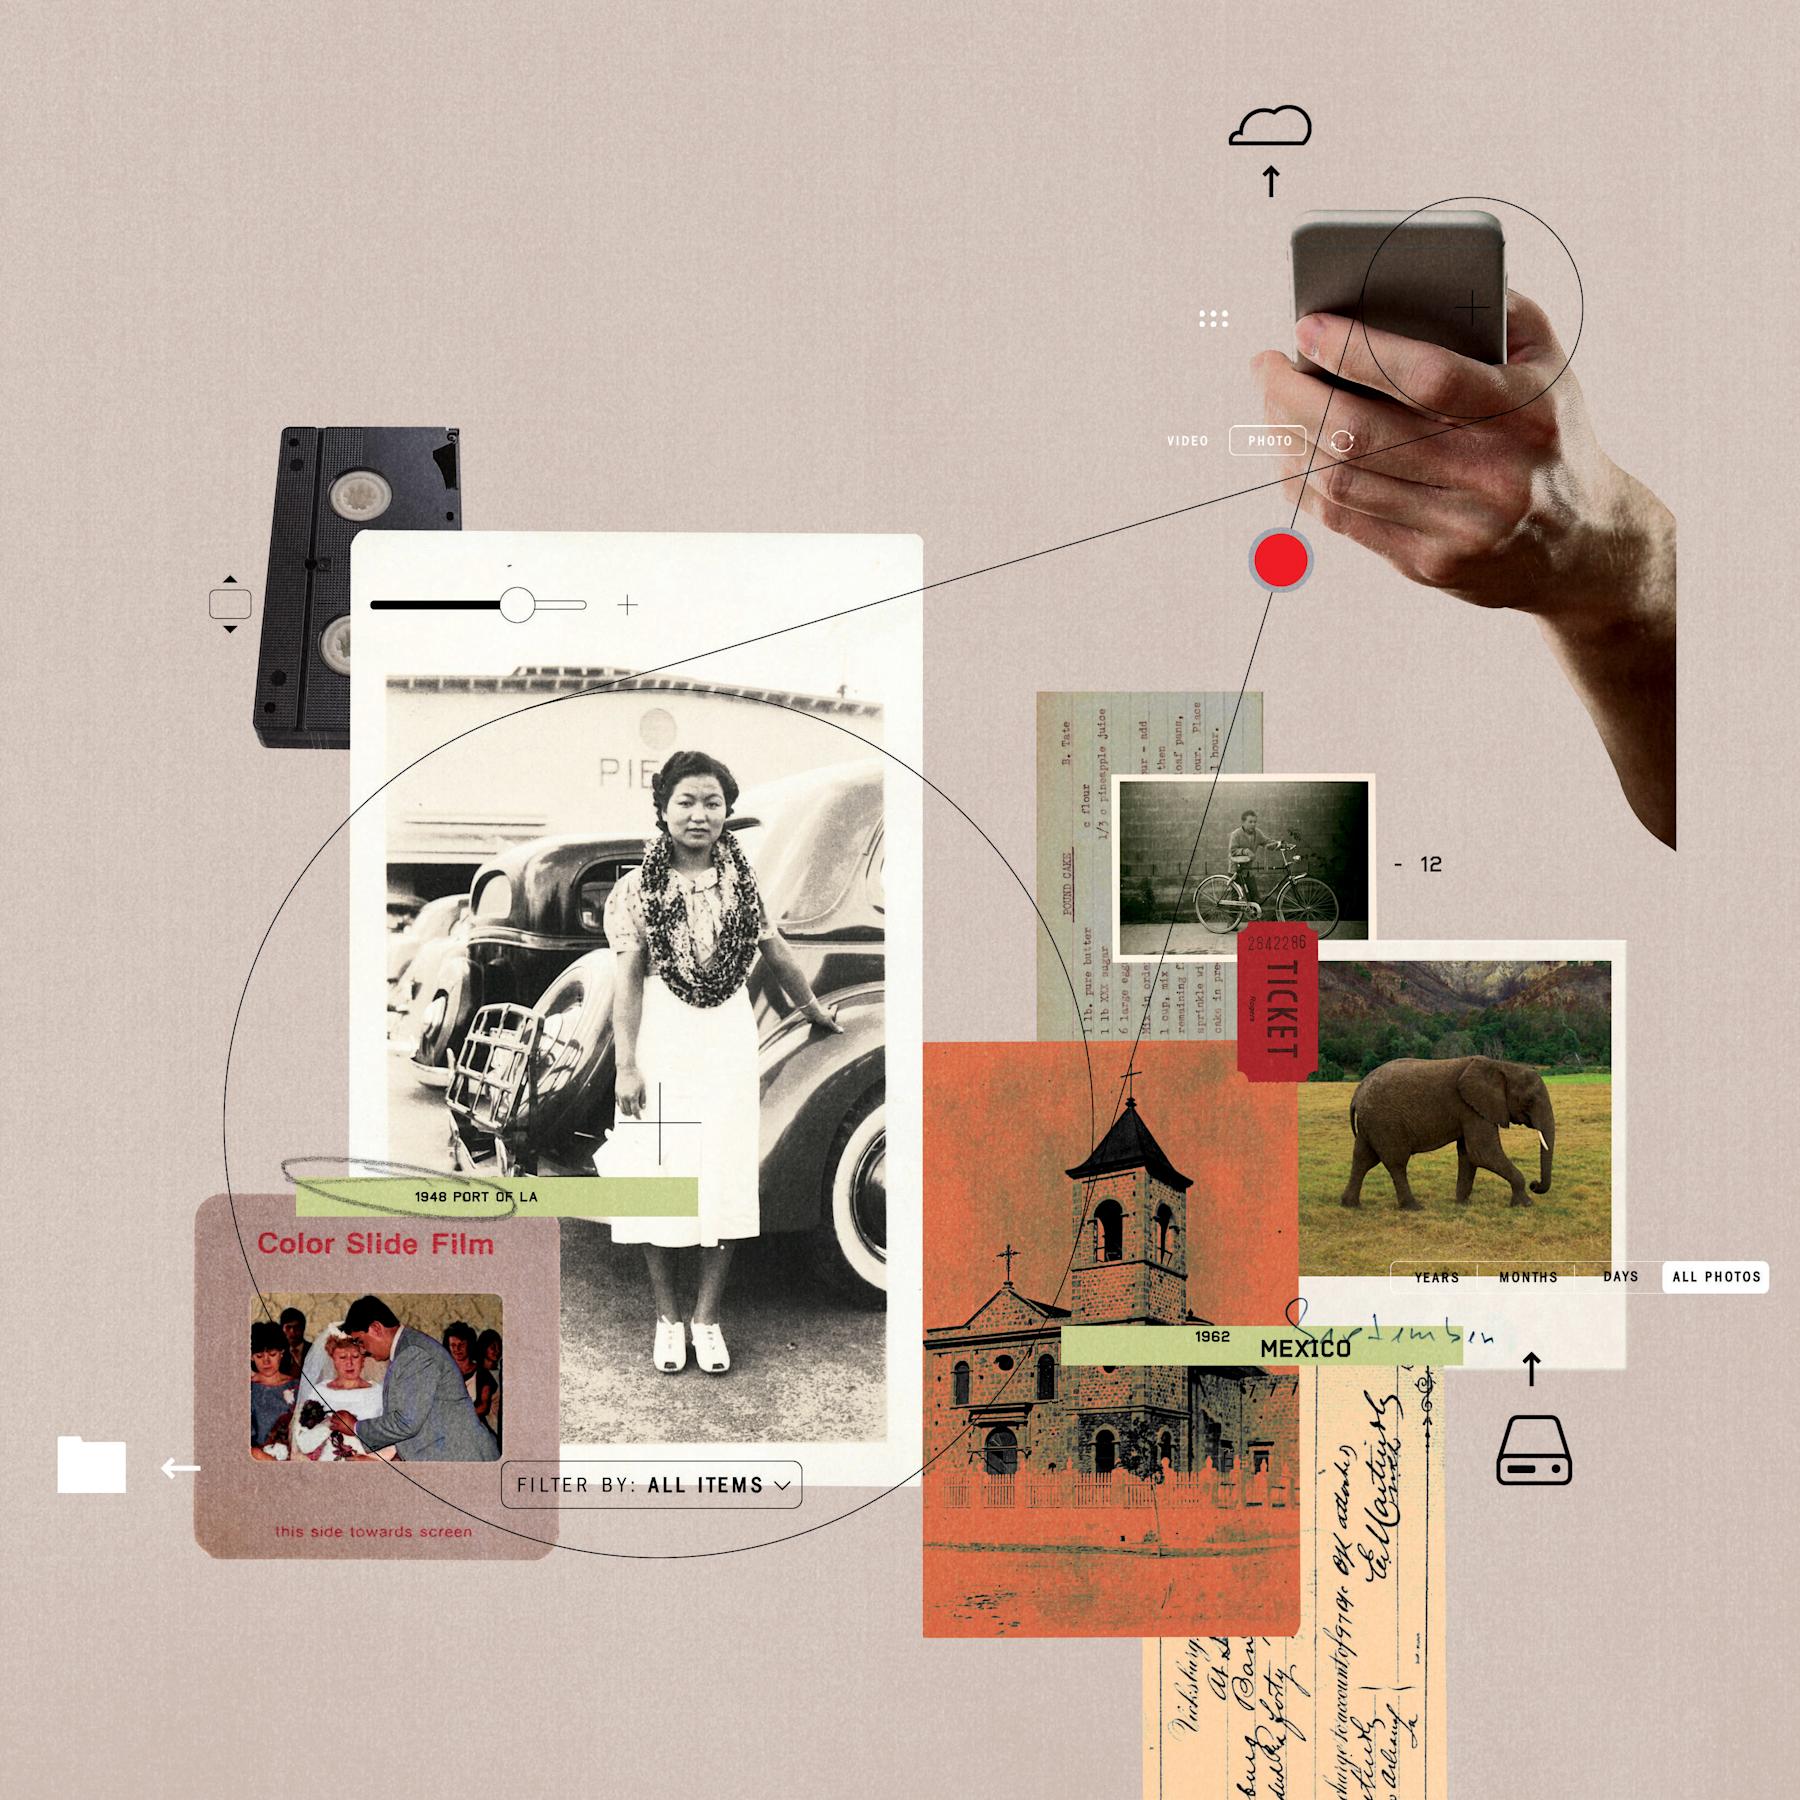
“Just getting started on something is helpful,” says Loscutoff, the head of Archives and Special Collections. Decide who you’re creating the archive for, what you want it to preserve and why it matters. Group physical items by format and prioritize vulnerable photographs, digital files and audiovisual materials. Don’t overlook items like ticket stubs and postcards, which can add context to family memories. Ask family members to identify people, places and dates before those details are forgotten.
2. Choose the Right Tool
You don’t need expensive equipment. To obtain a clear image with readable text from a letter or document, “go with a smartphone,” Houghtaling says. For photographs, he recommends a flatbed scanner to better capture details like a face in a crowd or a handwritten note in a recipe book. For older video or audio, consider a professional service to convert recordings into digital files you can preserve, access and share. And don’t forget the originals: Store important physical materials in acid-free boxes, folders or sleeves.
3. Give it Context
“The most valuable family histories are often lost because stories, names and context disappear long before the photographs and documents do,” Loscutoff says. Make that context part of your digital archive with consistent, descriptive file names and labeled folders, adding names, places and other details while family members can still provide them. For dates, Houghtaling recommends the YYYY-MM-DD format, so files naturally sort chronologically.
4. Make Copies
Digitizing your memories doesn’t guarantee they’ll last forever. Follow the archivists’ LOCKSS principle: Lots of Copies Keep Stuff Safe. “We always recommend keeping backups, or even backups of your backups,” Houghtaling says. Keep copies in different locations, such as the cloud and an external hard drive. Occasionally check that your files remain accessible and move them to newer storage systems or formats as technology changes.
– Charles O’Brien